Photo: Stock Photos from Smile19/Shutterstock
This post may contain affiliate links. If you make a purchase, My Modern Met may earn an affiliate commission. Please read our disclosure for more info.
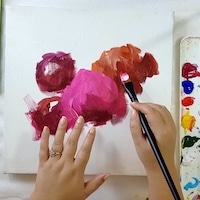
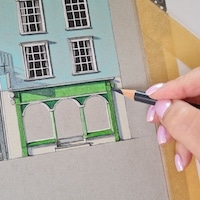
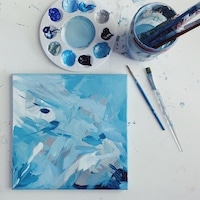
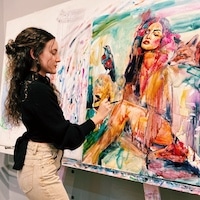
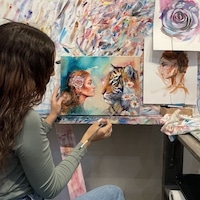
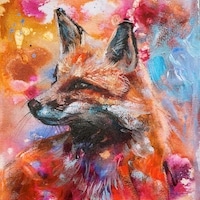
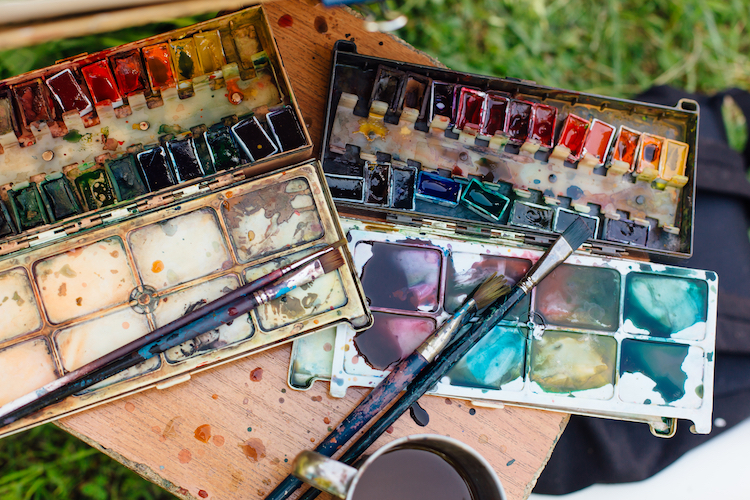
Watercolor painting has long been a favorite medium of expression for enthusiasts and professional artists alike. Although you only need a brush and pigments to get started, watercolor is a material with many creative possibilities. By incorporating household supplies into your painting, you can create work that has interesting textures as well as fluid, carefree colors that showcase the best attributes of the water-based medium. Whether you are a beginner looking for watercolor inspiration or you're just looking to refresh your artwork, these easy watercolor painting ideas are a great place to start exploring unconventional creativity.
Common Tools Needed for Popular Watercolor Techniques
You don’t have to look far for many of the supplies needed for watercolor painting techniques. In fact, you probably have some of them in your home right now. This is in addition to the essential watercolor painting supplies: a watercolor paint set, paper, and wet media brushes in various sizes.
- Table salt
- Masking tape or rubber cement. Both of these items will be used to mask the paper so that watercolor pigment cannot penetrate it. Each works in a similar way, although rubber cement is painted on the paper and has more flexibility. In contrast, masking tape is easier to apply but works better if you’re working with straight, rigid lines.
- Sewing needle
- Rubbing alcohol
- Plastic wrap
Feeling confused about why you need rubbing alcohol to paint? Don't worry—it's all explained below.
Easy Watercolor Painting Techniques
Flat Wash
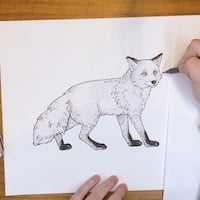
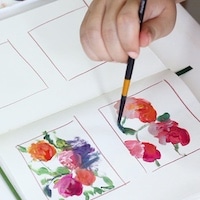
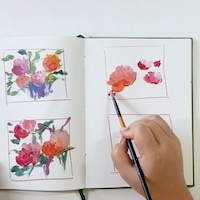
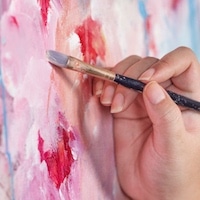
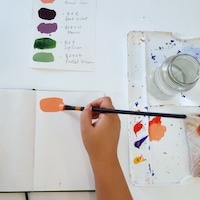
A flat wash makes up a majority of watercolor painting; it's such a basic technique that you don't even realize you're doing it. Simply dip your brush in clean water and paint, and then spread it over your painting surface. (This is called a wash.) The important thing to remember is to make sure that your color looks even—a flat wash should appear as a single, opaque hue on your paper. We use the flat wash in our demonstration of how to paint watercolor flowers.
This step-by-step tutorial shows you how to create a flat wash.
Wet on Dry
Wet on dry is another fundamental approach. It’s created by painting a wash of wet paint on dry paint. First, paint a wash onto your dry paper. After it has dried, apply paint on top of it. Because of the transparency of the paints, you will most likely see the bottom layer behind that stroke. This technique is a fun way to explore layers of color and loose strokes.
Kelogsloops, one of our favorite watercolorists, shares how he uses the wet on dry technique in his painting:
Graded Wash
A graded wash shows a transition from light to dark. Start by painting dark—load up your brush with the most pigment—and then drag it across the paper. On the next pass, add less pigment on your brush and swipe it across the paper so that it slightly overlaps with your first line. The two groups will begin to converge and eventually look like one. Repeat this process, adding less and less pigment, until you’ve got your desired tonal range.
Wet on Wet
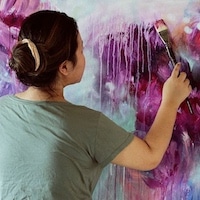
The wet-on-wet approach showcases the best quality of watercolor paint—its ability to create beautiful ethereal washes. To produce this technique, simply wet part of the paper with your brush. (You can use either water or a little pigment.) Then, dip your brush into another color and lightly dot it on the wet area and watch as the pigment feathers. This is a great idea for those that are looking to enhance the background of their composition or easily create a colorful sky.
This in-depth tutorial will show you the wet-on-wet (or wet-in-wet) technique in real-time.
Dry Brush
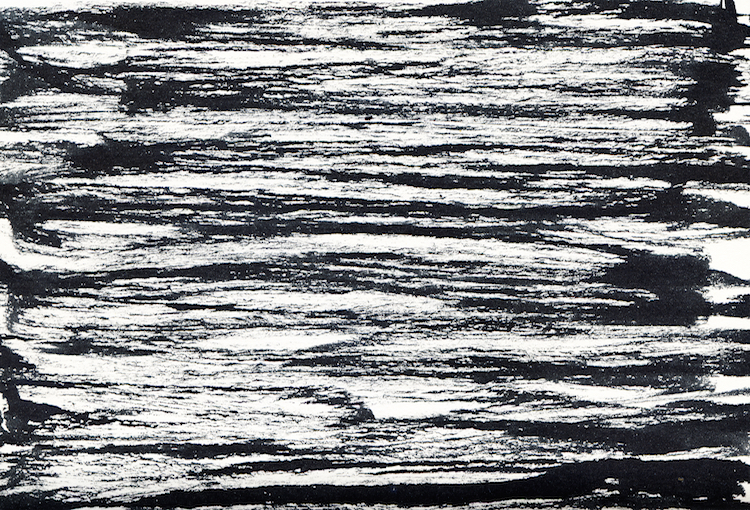
Photo: Abstract dry brush on paper from Yeroma / Shutterstock.com
Dry brush is just as it sounds; take a dry (or mostly dry) brush and dip it into your paint. Afterward, spread it over a dry piece of paper. The result will be a highly textured mark that’s great for implying fur or hair.
Perfect your dry brushing with help from this video:
Masking Tape or Rubber Cement
Rubber cement (like masking tape) acts as a resist for watercolor. Apply this material in places where you don’t want the pigment to go. Once the watercolor is dry, peel the rubber cement or masking tape from the page. You’ll see the paper underneath. This is a great solution for preserving white paper among the rest of your painting. If rubber cement results in a piece that is too fluid or abstract for you, try this same technique with masking tape—you'll be able to get that perfect vertical line or crisp shape you're looking for.
Salt
When applied to watercolor paper, salt will soak up some of the color and create a sandy-looking effect on the page. Begin by laying down a wash that’s “juicy”—you want to have some extra pigment on the paper. After you’ve painted the color, spread the salt on top of it. Once the painting is completely dry (it’s best to wait overnight), scrape the salt from the page.
Jerry's Artarama has an informative video on how to use salt to create a beautiful effect:
Lifting Off Paint
There are a few ways to lift paint from the page, and they all involve plastic—saran wrap being them most popular. Like the salt method, began with a wash that’s got some extra pigment to it. Then, place a sheet of plastic wrap on top of the painting; it’s best if you’ve crinkled it or have creased it. Wait for the paint to fully dry. The pigment will pool under the plastic and create an interesting texture.
Rubbing Alcohol
View this post on Instagram
Watercolor paint and rubbing alcohol are akin to oil and water. Once you paint a wash, take a utensil (like a q-tip) and dab alcohol onto the wet surface. Or, pour some rubbing alcohol into a spray bottle to keep things loose and free. It will create an alluring effect that’s reminiscent of tie-dye.
In this short video, you'll see the rubbing alcohol technique in action:
Scratch-Off
Scratch-off, or sgraffito, involves scratching the paper to create small indentations. Start by painting a wash where you’d like the scratch texture to go. While still wet, take a sewing needle (or another sharp object) and drag it across the paper. Paint will fill the punctured surface and appear darker and more defined than the rest of your wash. This technique is perfect for those fine details that will really set your finished piece apart. Try this method to create woodgrain texture on your trees, or to create tiny needles on your cacti.
Spatter
View this post on Instagram
Warning: you're going to get your hands dirty with this technique. (But isn't that part of the fun?) The spatter technique will give a chaotic, Jackson Pollock-esque effect to your work. To create it, load your brush with pigment and use your finger to flick it onto your paper. This technique is great for creating energy and bringing importance to the foreground of your piece.
Don't want to get paint on your hands? Another option for spattering is to use a secondary brush and knock your painting brush against it. The force will release the pigment and it will transfer onto your paper. The downside of this method, however, is that you have less control over where the paint goes.
Watch how to spatter in this video:
Want to share your love of watercolor painting? Join our Art, Design, Photography, and Drawing Club on Facebook!
Related Articles:
Color Sheets Booklet Lets You Take a Set of Watercolors With You Everywhere You Go
20 Best Watercolor Paint Sets Both Beginners and Professional Artists Will Love
10+ Famous Watercolor Artists Who Continue to Influence Painting Today