Photo: Stock Photos from Oksana_Schmidt/Shutterstock
This post may contain affiliate links. If you make a purchase, My Modern Met may earn an affiliate commission. Please read our disclosure for more info.
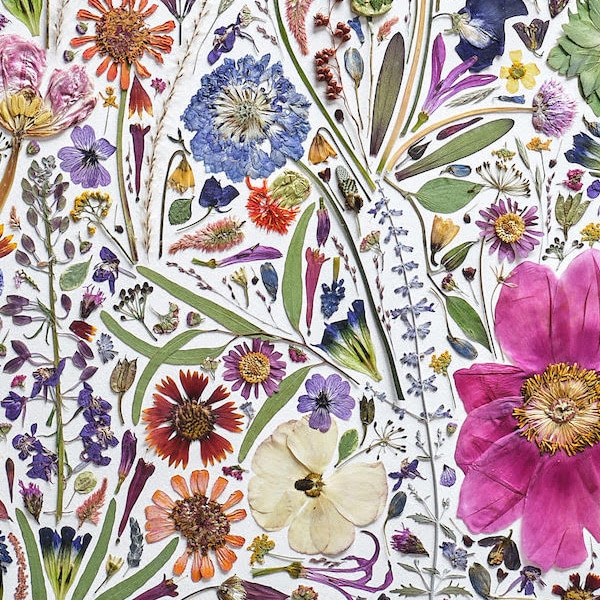
A popular pastime of the Victorian era, flower pressing is a wonderful way to repurpose fresh blooms. Rather than letting your flowers wilt and die, you can keep them looking beautiful for years to come and get creative in the process. Whether you want to preserve the memory of a special day or would simply like to use your blossoms as part of a DIY project, it's an incredibly easy skill to learn—as well as a fun and relaxing hobby.
There is a very low barrier to entry for those who might be curious to try flower pressing. It's a craft that requires little in the way of materials to get started; all you really need is the bounty of Mother Nature and a heavy, flat object. Scroll down to learn the various ways to press blooms.
Read on to see how you can start pressing flowers for your own enjoyment and creative pursuits.
Supplies You'll Need
Photo: Stock Photos from Shift Drive/Shutterstock
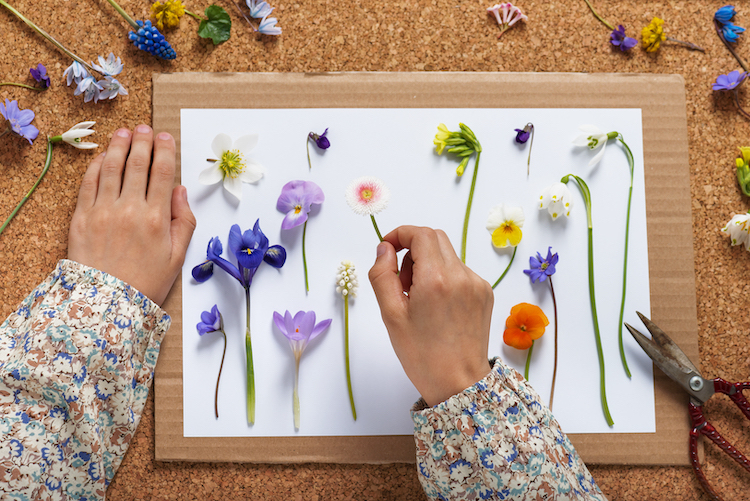
Flowers —There are no restrictions on flowers. Whether you pick them directly from the great outdoors or use some from a floral bouquet, the most important thing is that you press them as soon as possible before they begin to wilt. (Make sure they aren’t too wet, either.) If you want more variety, you can also add leaves, herbs, and grasses to your pressing material.
Absorbent paper — As you press flowers, you are essentially drying them out as well. Layering them in between pieces of paper helps to absorb some of the moisture. You’ll want to use absorbent paper such as watercolor paper, parchment paper, thin cardboard, or coffee filters.
Sturdy flat object — In order to press the flowers completely, you will need a sturdy flat object. This item will vary based on the pressing method you plan on using. The most common objects to use, however, are books or wooden boards.
How To Press Flowers
Use a Book
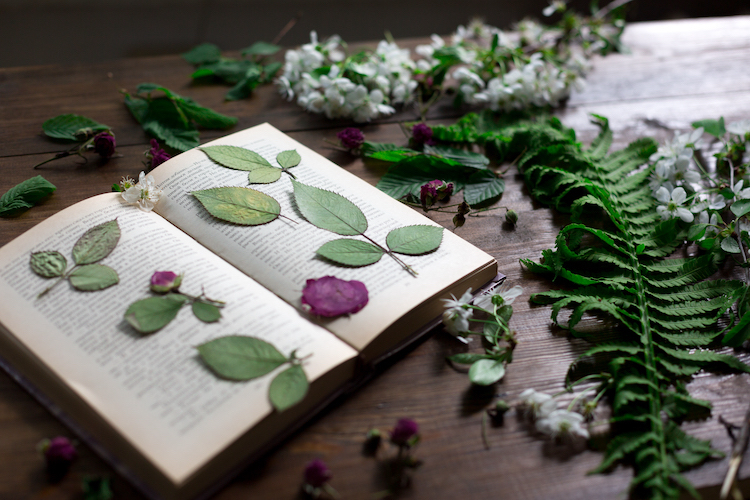
Photo: Stock Photos from march.photo/Shutterstock
One of the most common (and easily accessible) ways to press flowers is by using books. It is best to use the heaviest book you can find and one that you don’t mind sacrificing to possible flower stains or wrinkled pages from the moisture. You can also use wax paper or baking parchment to add an extra layer of protection to the book. Here are the steps for pressing in a book:
Step 1 — First, sandwich your flower (or flowers, if you have a large book) between two pieces of paper, making sure it is laying as flat as possible. Then, close it in the pages of your book.
Step 2 — You’ll need to add more weight to ensure that the flower is pressed properly. To do this, stack a few more books on top. You can also use other heavy items—like a brick or a weight—if you have some on hand.
Step 3 — Leave the flower in the book for two or three weeks to make sure it dries completely. If you try to remove it but realize it still isn’t dry, change out the paper and let it sit for a few days longer.
Press Them in a Flower Press
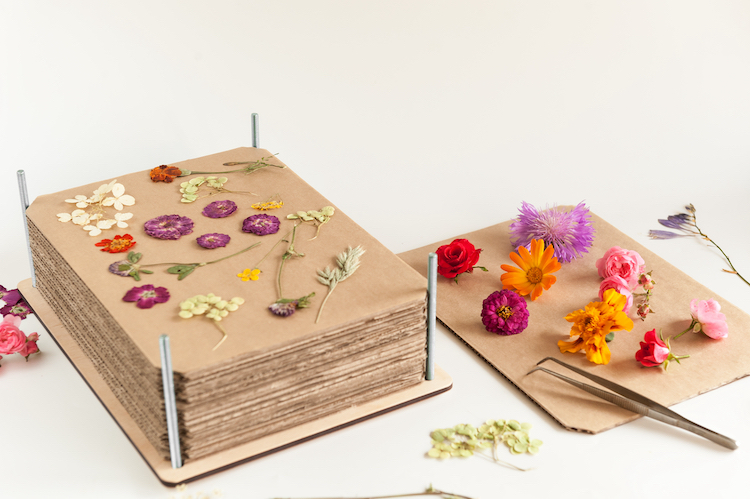
Photo: Stock Photos from Olena Antonenko/Shutterstock
Using a flower press is best when you have a large number of flowers. It is also the ideal method for preserving the flowers’ color. These presses are very easy to DIY if you have two boards, pieces of cardboard, paper, and a way to tighten it—for example, by using straps or fashioning it with bolts and wing nuts. On the other hand, you could simply buy one as well.
Step 1 — First, layer your flowers on the press. The advantage of using a press is that you can press multiple layers of flowers at a time. Make sure that the flowers are sandwiched between two pieces of paper before you put them on the board. If you want to add additional layers, check that there is a piece of cardboard between each layer to ensure that the flowers are pressed flat.
Step 2 — Tighten the press. If you are using straps, try to tighten them as evenly as possible. If you have a press with bolts and wing nuts, screw them down tightly until the press lies flat.
Step 3 — Leave the flowers for three to four weeks, changing the paper a few times during that period to prevent browning. Once dried completely, you can remove the flowers from the press.
Use an Iron
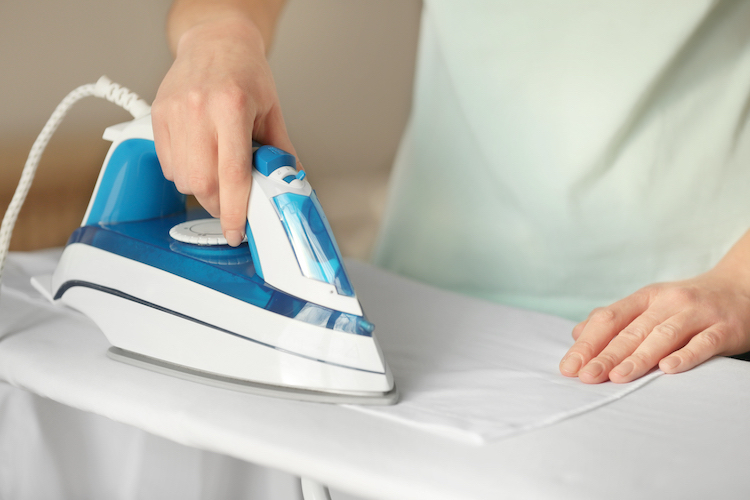
Photo: Stock Photos from Africa Studio/Shutterstock
This method is better if you don’t want to wait several weeks for your flowers to dry. While it might be a bit more time-consuming at the onset—especially if you have a large number of flowers—you will end up with the final result much sooner.
Step 1 — First, sandwich your flower between two pieces of paper and flatten it with a heavy book or thick piece of board.
Step 2 — Heat the iron on low, making sure there is no water in it and that you aren’t using any steam or moisture settings. Any additional moisture will prevent the flower from drying out and pressing properly.
Step 3 — Once the iron is warm, press it on the paper for about 15 seconds. Remove the iron and let the flower sit until the paper has cooled.
Step 4 — Repeat this process until the flower is stiff and dry.
Press Them in the Microwave
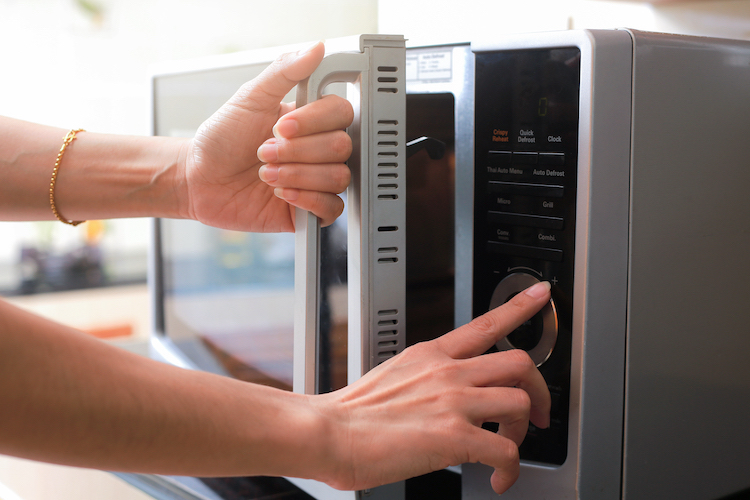
Photo: Stock Photos from Zyn Chakrapong/Shutterstock
The microwave is another good method to use when you want quick results. But remember: you’ll need an object to press the flower with that can be heated in the microwave. This can be something as simple as a microwavable plate or dish, a ceramic tile, or even a microwave press (which you can buy) or DIY using two ceramic tiles.
Step 1 — First, sandwich your flowers between two pieces of paper. (You should be pretty familiar with this step by now.)
Step 2 — Next, place the paper and flowers directly into the microwave and flatten them with your pressing object on top (such as a microwavable plate, dish, ceramic tile, etc.). If you have a microwave press, make sure your flowers are layered between paper and cardboard—as you would in a normal press.
Step 3 — Turn the microwave on low and heat the flower for 30 seconds to a minute at a time, allowing it to cool between each session.
Step 4 — Repeat this process until the flower is dry. You can also use this method to jumpstart the more traditional pressing method and transfer your flower to a book or a press to finish drying. Then they should be dried after a couple of days instead of weeks.
Pressed Flower Project Inspiration
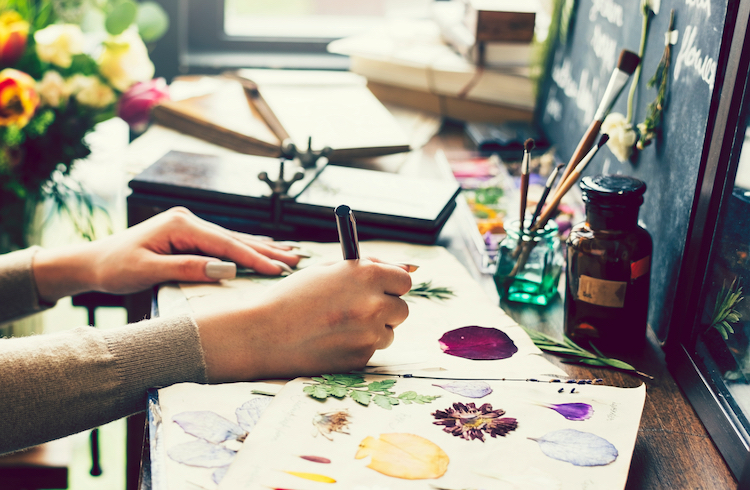
Photo: Stock Photos from Rawpixel.com/Shutterstock
After you get the hang of it, you’ll soon have a large collection of pressed flowers on your hands. Be sure to store them in a cool, dry place out of direct sunlight. And what to do next with all those blooms? Get crafty, of course! There are a variety of fun DIY projects you can create with pressed flowers, and here are a few sources of inspiration to get you started.
Pressed Flower Phone Case
Dried Flower Candles
Pressed Flower Frame
Pressed Flower Tray
Pressed Flower Bookmarks
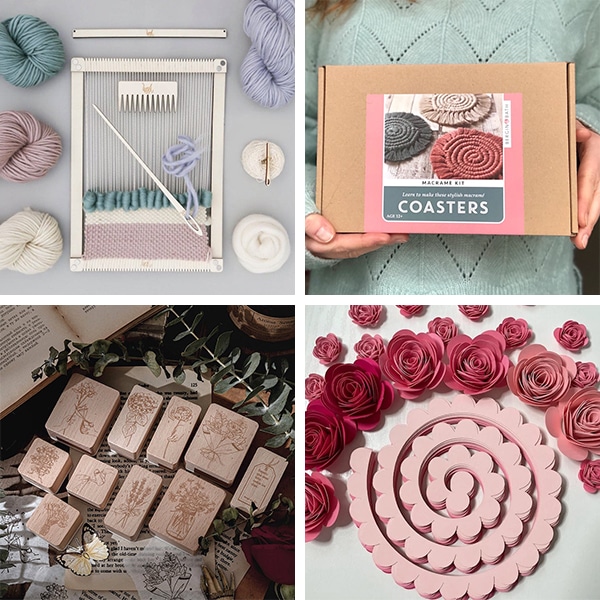
Pressed Flower Coasters
Handmade Pressed Flower Cards
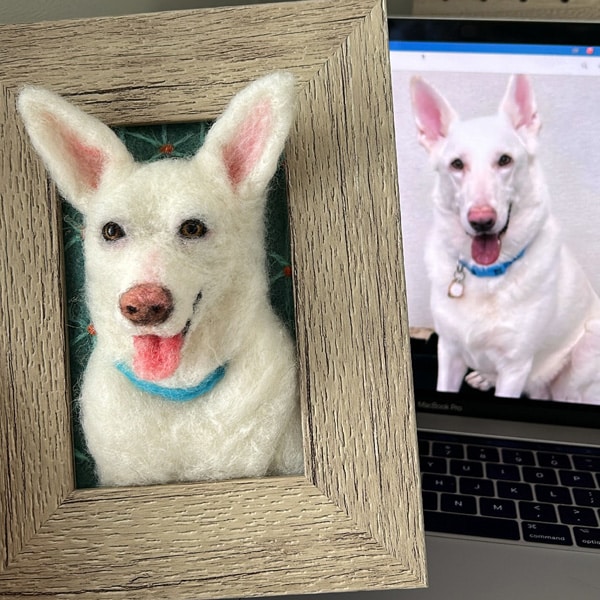
Pressed Flower Wall Art
Floral Advent Calendar
Handmade Pressed Flower Lanterns
Related Articles:
10+ Creative DIY Projects That Turn Dried Up Flowers Into Pressed Works of Art
Artist Uses Real Pressed Flowers to Create Delicate Animal Illustrations
Artist Creates Delicate Sculptures Made from Pressed Flowers